UI Development Process (Frontend)
1. Requirements for Setup
1.1 Installation Tools & Libraries
Ensure the following tools and libraries are installed:
VS Code
Extensions:
Docker
Yarn
Node (Version 18)
Tech stack
Typescript
CSS / Tailwind CSS
Reactjs
Redux
Jest
1.2. Required Permissions
You must have access to the following platforms:
Azure
GitHub Engineering
Quay.io
ReadTheDocs
Figma (Optional)
1.3. Cloning Procedure
Generate a new SSH key.
Add the SSH key to your system.
Clone the repository using the SSH link:
git clone <ssh_link>
1.4. Repositories to Clone
rr_sootballsSimulation Commands:
Manual Mode:
SIMULATED_UI_INTERACTIONS=INIT_POSE_ONLY ./run.sh -u
Automated Mode:
./run.sh -u
rr_amr_uiAccess URL: http://localhost/amr-ui/
Username: admin
Password: admin-test

rr_orders_ui_modulesModules related to Work, Upload, and Picking Worklines (in amr-ui)
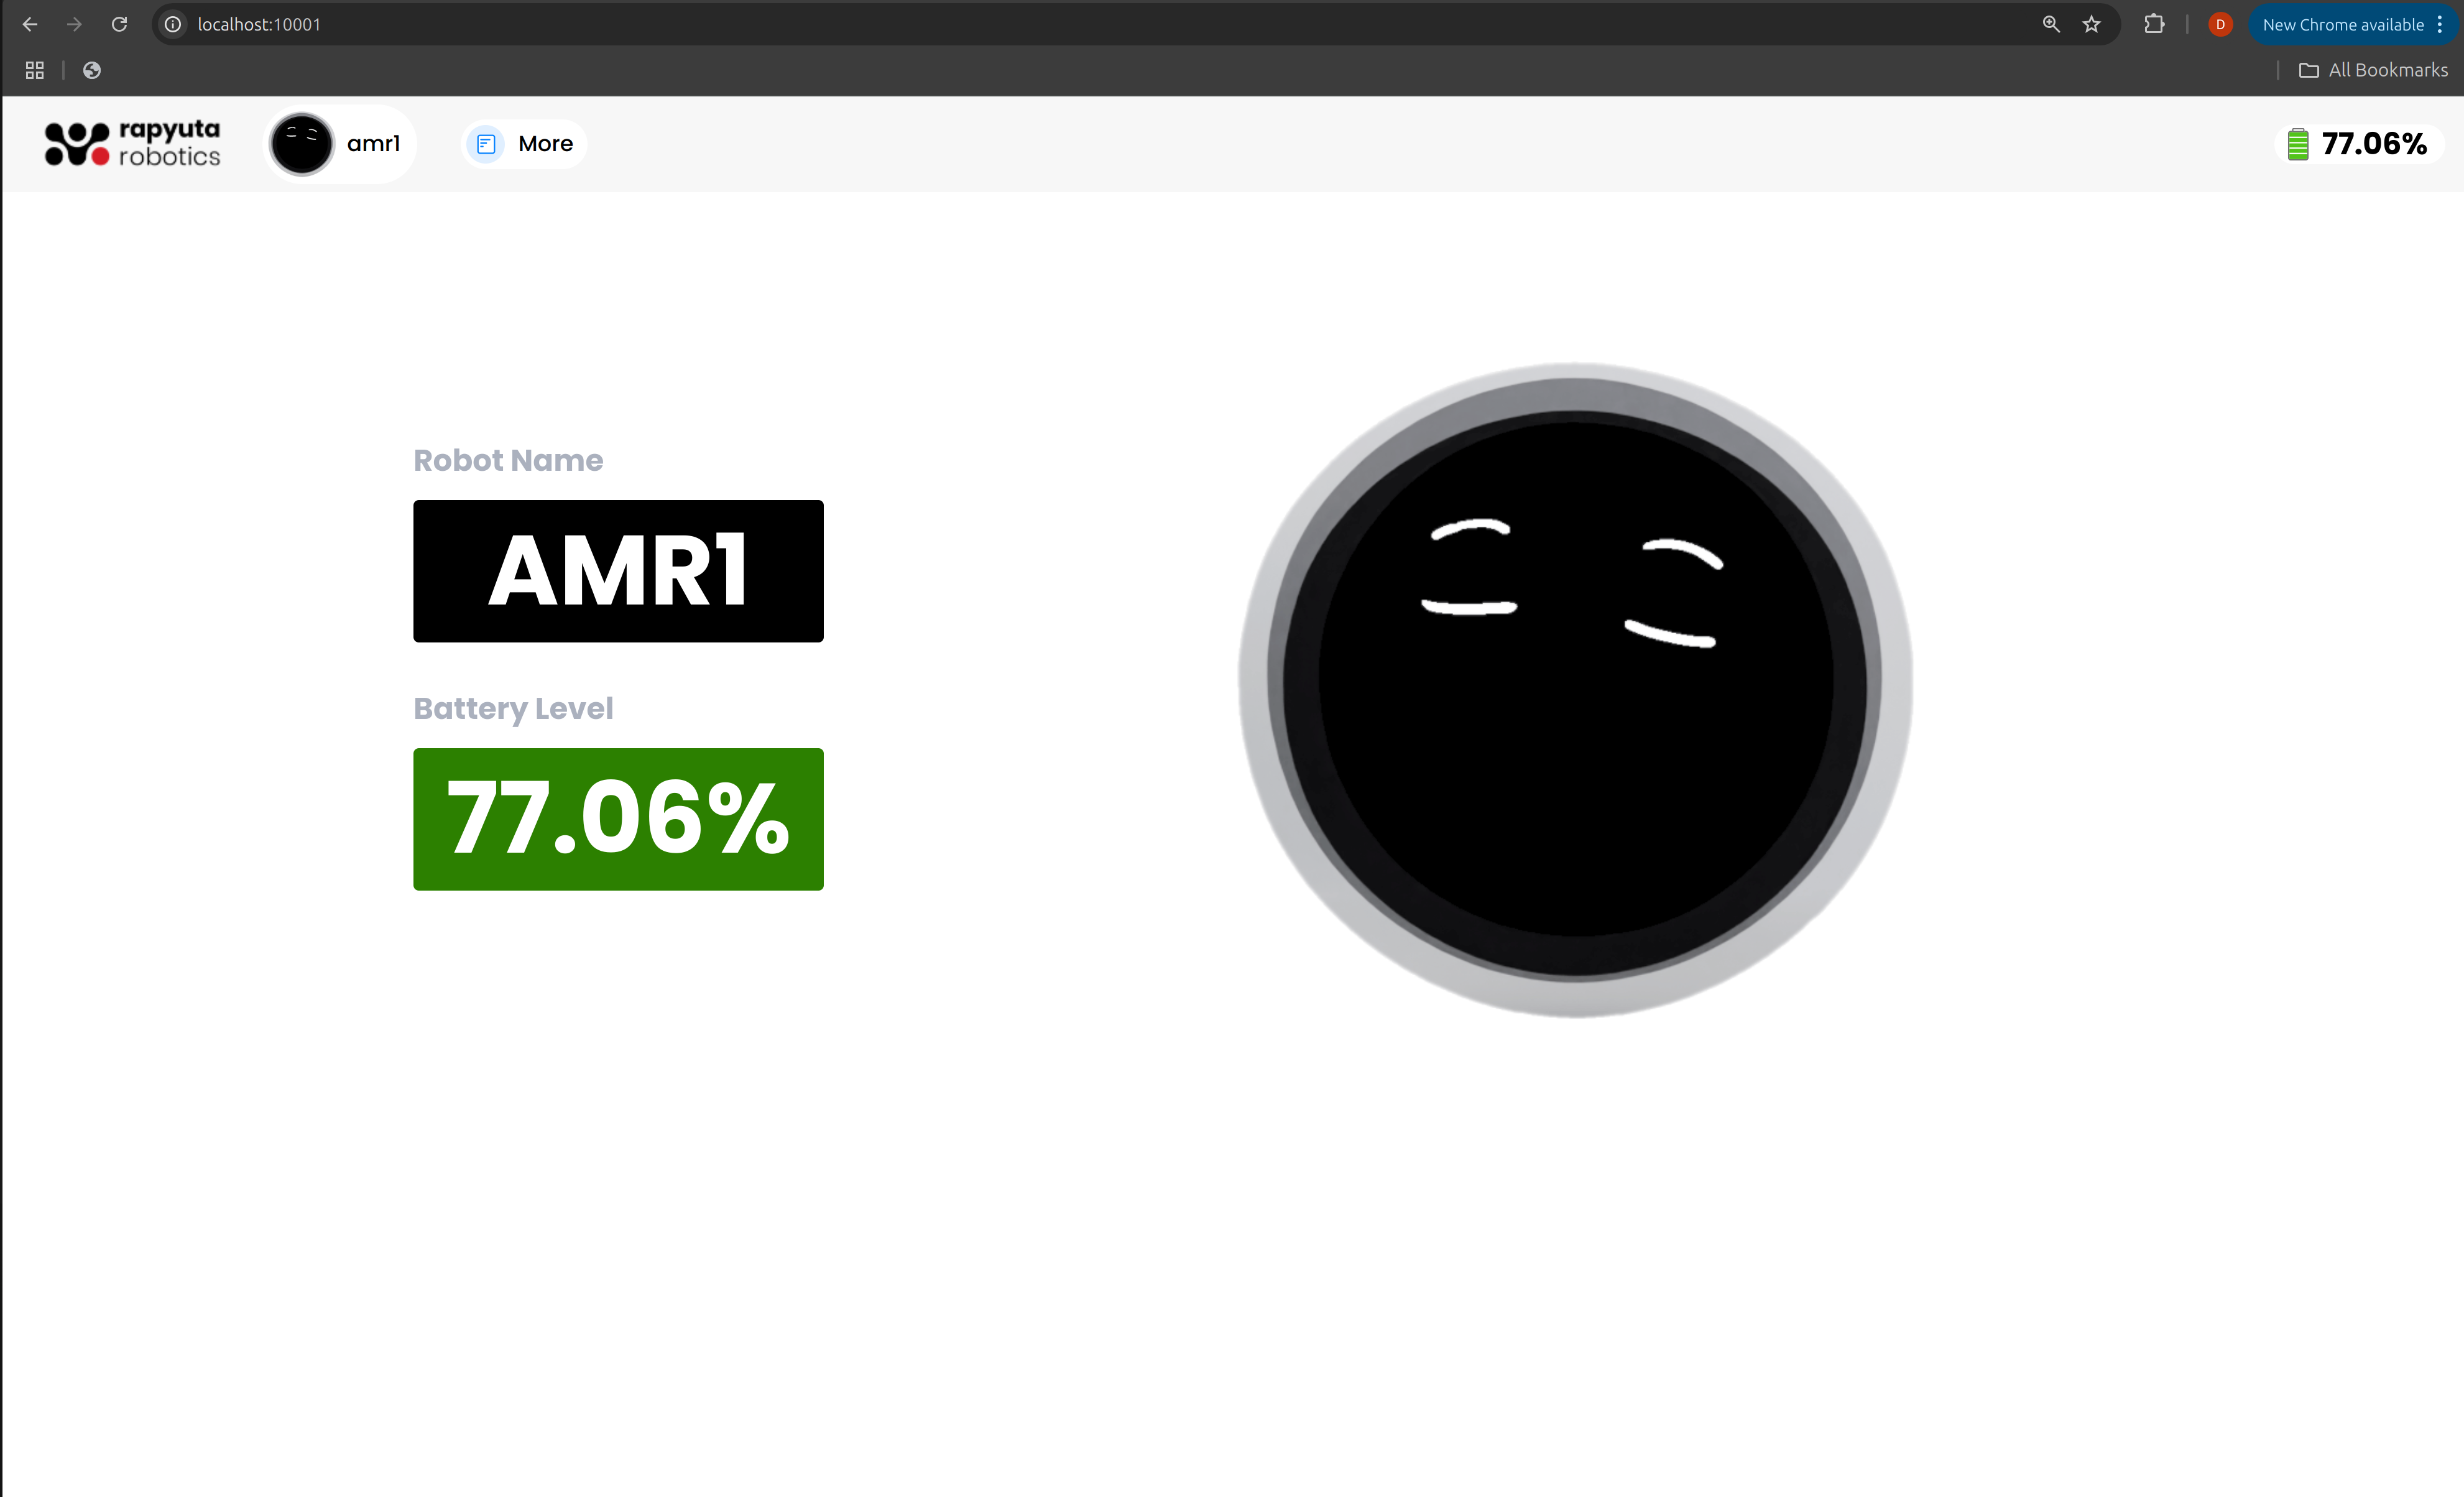
rr_sootballs_robot_uiUI components related to the Robot Screen
Access URL: http://localhost:10001/
2. Workflow
2.1. Get the Ticket
Obtain the Azure ticket from your Project Manager, Squad Lead, or Scrum Master.
If a feature document already exists in the work item, review it thoroughly.
Add your comments or questions to clarify any unclear requirements or edge cases.
2.2. Feature Documentation
If the author requests a feature document, use the provided template.
Write the document and share it in the relevant channel for approval from the team.
2.3. Design Review
Check if a Figma design is available.
Review the design and clarify any doubts.
If a new design is needed, use the provided Figma link to create one.
2.4. Repository Setup
Identify the repository where the feature will be implemented.
Create a new branch for development:
git pull
git checkout -b <feat/new_branch_name>
2.5. Implementation
Develop the feature according to the requirements.
If you encounter blockers, seek guidance from your mentor or fellow developers.
2.6. Unit Testing
Write unit tests using Jest to ensure the feature works as expected.
Verify all changes before proceeding to the next step.
2.7. Raising a Pull Request (PR)
Add the modified files:
git add <files>
Or, to add all changed files:
git add .
Commit your changes with a meaningful message following conventional commit standards:
git commit -m "<commit-message>"
Push your changes to the remote repository:
git pushCreate a pull request (PR) in GitHub.
Include a description of your changes and reference the Azure task using:
AB#<task_id>Request reviews from code reviewers.
2.8. Code Review & Revisions
Address any review comments and push necessary changes until approval is received.
2.9. QA Testing
If it’s a major feature, QA needs to test the PR.
Provide the image tag from quay.io for testing.
If QA reports bugs, fix them and request another review.
Then QA signoffs your feature.
2.10. Merging & Backporting
Once approved, merge the changes into the required branch.
Add the necessary backport labels in the PR.
If there are merge conflicts, use the backport library to resolve them.
Merge the backport PRs once they are approved.
3. UI - Bug Fix Workflow
3.1. Get the Ticket
Retrieve the Azure ticket from QA, the customer site, or the Scrum Master.
Review the work item thoroughly to understand the reproduction steps.
Add comments or ask questions to clarify any unclear requirements or edge cases.
3.2. Reproduce the Bug
Determine whether the issue is related to SUI or RUI.
Verify the release version.
Follow the reproduction steps provided in the work item or by the author.
3.3. Repository Setup
Identify the relevant repository for the fix.
Create a new branch for development:
git pull
git checkout -b <bugfix/new_branch_name>
3.4. Implementation
Apply the fix to ensure the expected behaviour.
If blocked, seek guidance from your mentor, developers, or the QA team.
3.5. Testing
Verify that the fix works as expected without affecting existing functionality.
Run unit tests to confirm no failures:
yarn test
Ensure all changes are validated before proceeding.
Next
Follow the same steps from step: 7-10 in Feature Development Workflow